Manage a DP model
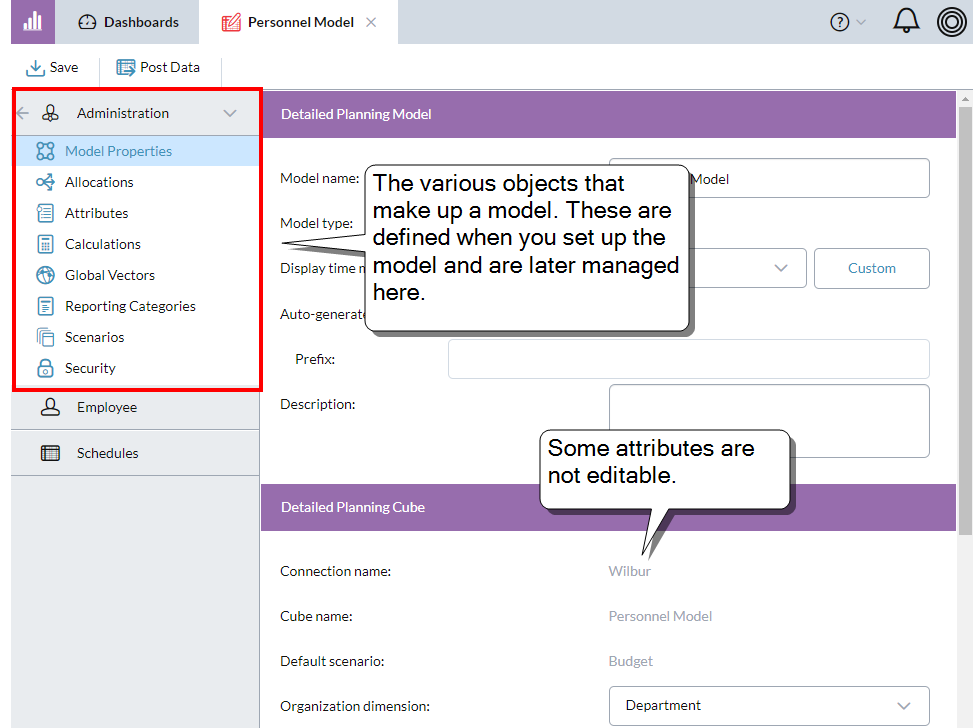
In Detailed Planning Manager, the Administration drawer is for managing the detailed planning model. You can use this drawer to change some but not all attributes of the model.
Note: The Administration drawer is unavailable when the Detailed Planning model or its linked model(s) is offline.
The Model Properties page is divided into three sections:
Detailed Planning Model
In the Detailed Planning Model section, you can manage some basic attributes of the model (except for Model type, which cannot be changed).
Change the model name
- Select Administration > Model Properties.
- Edit Model name.
- Save.
Time members format
You can specify the format for Time members.
- From Display time members as, select an option.
- To define a custom display format, select Custom and click the Custom button.
Note: This setting affects the grid headers in the following areas: Global Vectors , the DPO's Summary and Input tabs, and the Lookup calculation's Calculation Details tab.
DPO Automatic IDs
If this setting is turned on, when a user manually adds a Detailed Planning Object profile, a system-generated key automatically appears in the ID attribute and cannot be edited; after the user saves the profile, the ID becomes fully editable. You can turn this feature on or off at any time.
- Go to Administration > Model Properties.
- Select Auto-generate IDs.
-
Optionally, type a Prefix and Description.
Note: If you change the existing prefix, Detailed Planning Manager resets the ID counter to 1, or to the lowest number that provides a unique ID.
What is a prefix?
Automatic IDs can include a prefix, consisting of up to 20 characters, numbers, and symbols. The prefix is added in front of all generated ID numbers.
Example: If the prefix is Emp-, the first ID generated will be Emp-1, followed by Emp-2, Emp-3, and so on.
Do automatic IDs affect the DP Import process?
Turning on automatic IDs does not affect the DP Import process—that is, you still need to ensure that the data for import includes ID values.
Detailed Planning Cube
The Detailed Planning Cube section identifies the connection, cube, and the default scenario.
Tip: The
Change the Organization dimension
The Organization dimension controls how the DPOs are sorted in Detailed Planning Manager's DPO drawer.
- Go to Administration > Model Properties.
- In the Detailed Planning Cube section, select from Organization dimension.
- Save.
Control auto posting of workflow schedule data
You can turn on/off automatic posting to the DP cube and/or a linked finance cube when users submit workflow data through DP schedules.
- Go to Administration > Model Properties.
- In the Detailed Planning Cube section, select from Submitting workflow schedules; the options are:
- Do not automatically post data
- Automatic post to both detailed planning and linked cubes
- Automatic post to only the detailed planning cube
- Automatic post to only the linked cube
- Save.
Keep scenario-less DPOs
Normally, once a DPO is no longer part of any scenario (typically because the scenario has been deleted), the DPO is automatically deleted the next time you post data to the detailed planning cube. To retain these DPOs use the option below.
- Go to Administration > Model Properties.
- In the Detailed Planning Cube section, turn on Keep legacy [DPO Name].
- Save.
Linked Cube
In the Linked Cube section, you can optionally link the detailed planning cube to any other cube, excluding other detailed planning cubes and financial consolidation cubes.
Manage the other elements in the model
The other elements that make up a detailed planning model (allocations, attributes, calculations, and so on, appear below Model Properties:
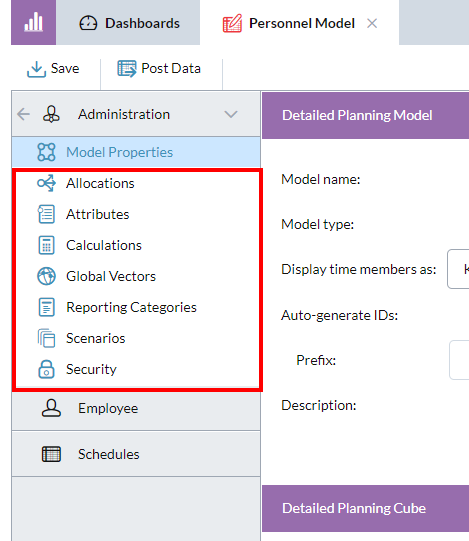
To learn about managing these elements, see the topics listed under Set up a model.